
SSH เป็น Protocol ที่ใช้เชื่อต่อไปยังเครื่องเซิฟเวอร์ โดยสามารถป้อนคำสั่งต่างๆ เพื่อคอบคุมเครื่องผ่าน Port: 22 ใน Windows 10 ได้เพิ่ม OpenSSH มารองรับคนที่ทำงานสาย network ซึ่งโดยปกติแล้วหากใช้ Windows 10 ก็จะใช้โปรแกรม PuTTY เพื่อใช้งาน SSH (Secure Socket Shell) และสามารถติดตั้งได้ทั้ง Client และ Server
สำหรับขั้นตอนแนะนำในบทความนี้จะแนะนำไว้เพียงสำหรับเครื่อง Client ที่เอาไว้ติดต่อไปเครื่อง Server ระบบ Linux แต่ถ้าหากว่าต้องการเปิดเป็นระบบ Server ก็สามารถเลือกติดตั้งไว้ด้วยก็ทำได้ครับ
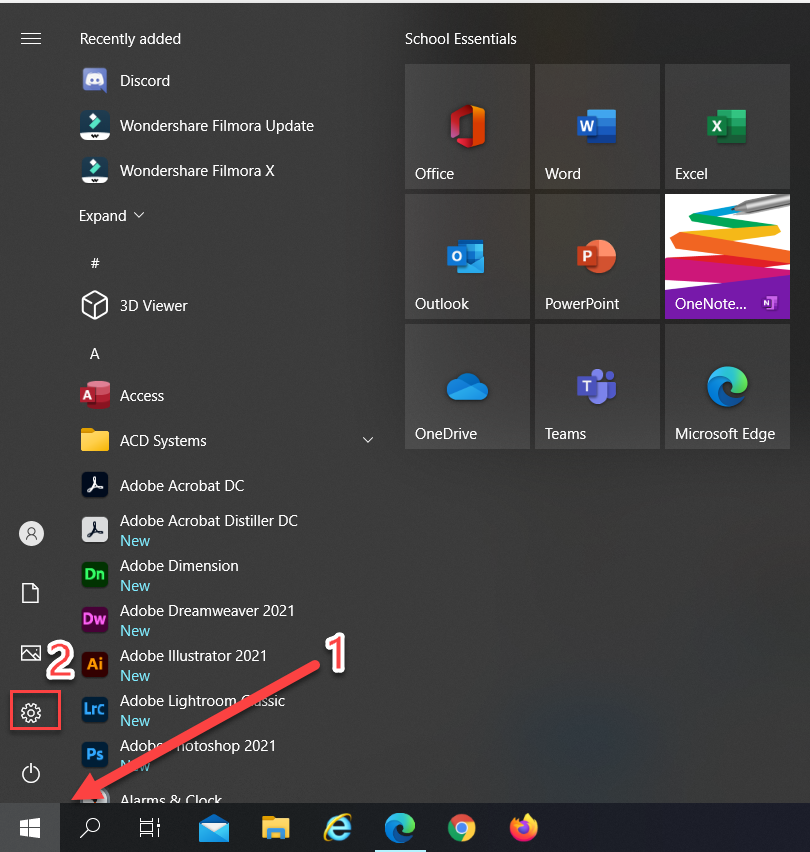
1) เปิดไปที่ Start menu แล้วเลือก Settings
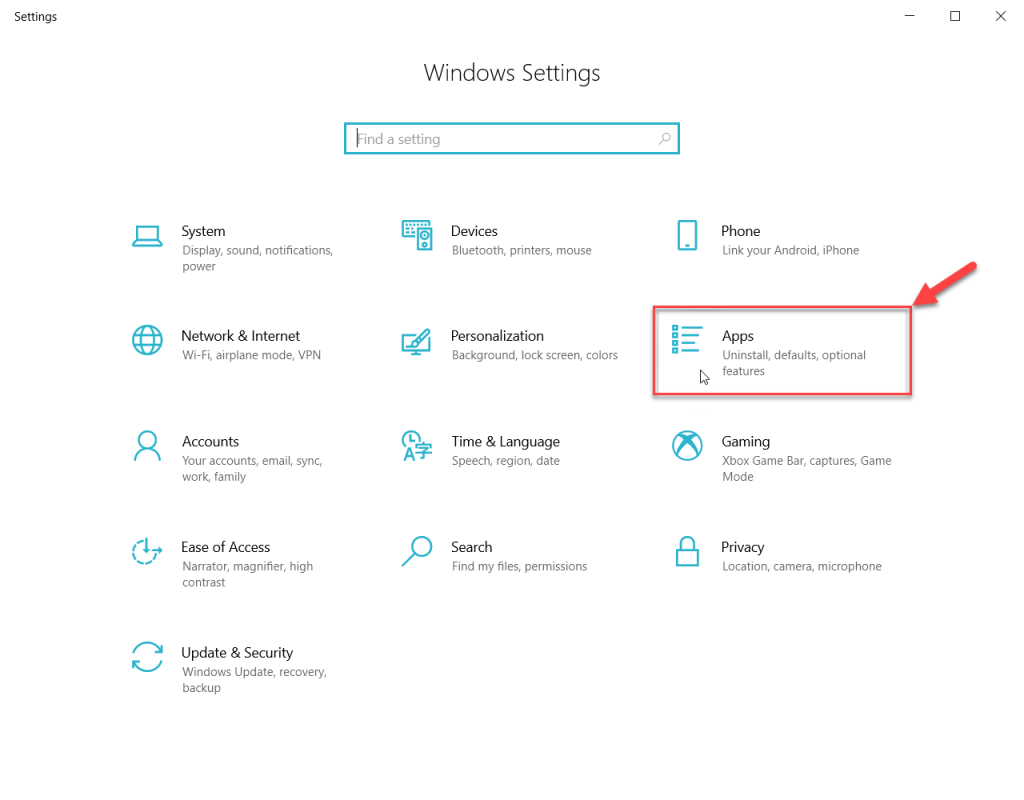
2) ที่หน้าต่าง Windows Settings ให้คลิกเลือกที่ Apps
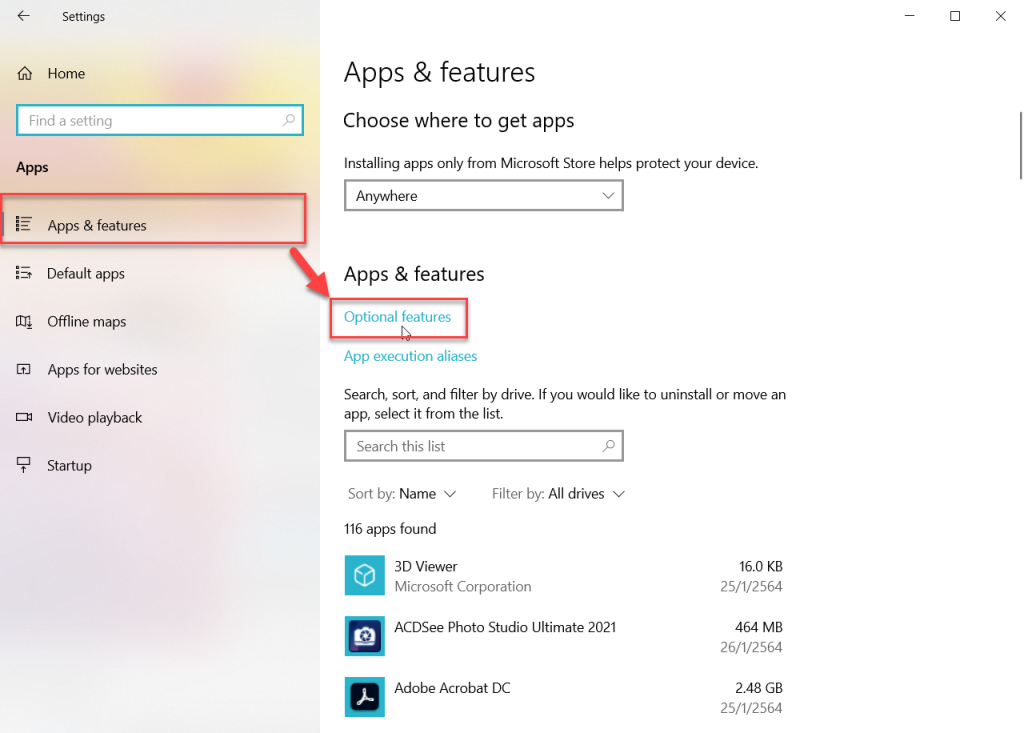
3) ที่หัวข้อ Apps & features ให้คลิกที่ optional features
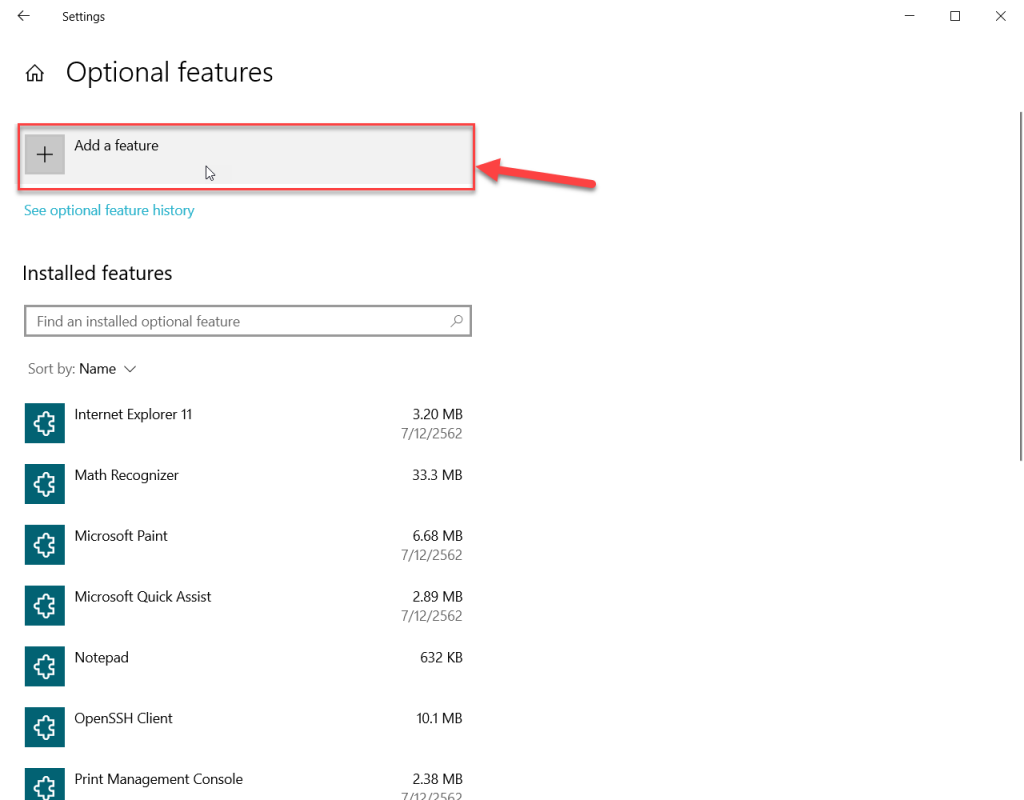
4) ให้คลิกที่ Add a feature
5) ให้เลื่อนลงมาคลิก OpenSSH Client แล้วคลิกปุ่ม install แล้วก็รอให้เครื่องติดตั้งจอเสร็จ

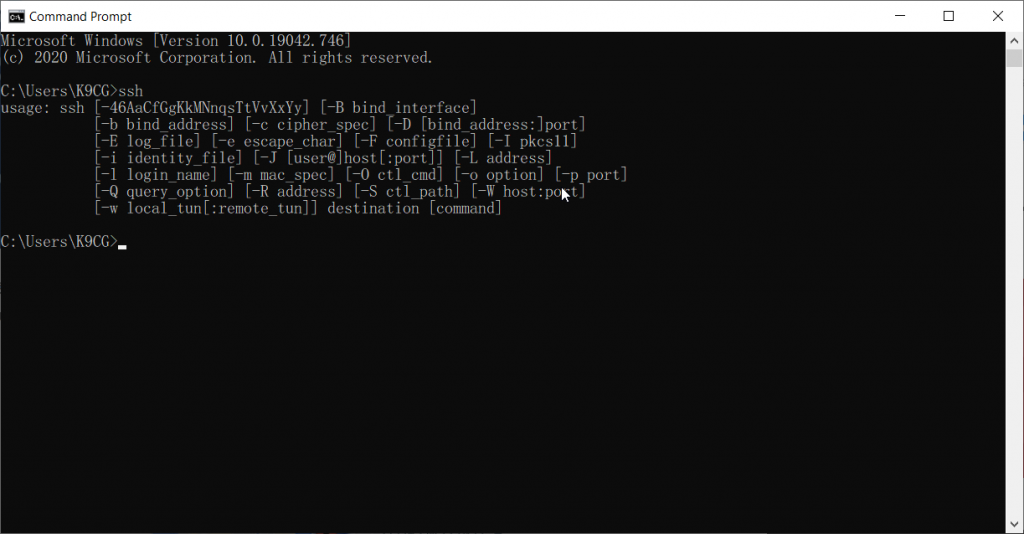
หลังจากที่ติดตั้งเสร็จก็ลองเปิด “Command Prompt” หรือ “Windows PowerShell” ขึ้นมาทดสอบโดยพิมพ์ ssh ก็จะแสดงคำสั่งอื่นๆ ที่เกี่ยว ssh ก็จะแสดงขึ้นมา เท่านี้ใช้งานได้แล้ว
เพียงเท่านี้ก็รีโมทไปยังเครื่อง Server Linux ได้แล้วครับ โดยที่เราไม่ต้องติดตั้งโปแรกรมเสริมเพิ่มเลย
