
ระบบ Fial Over Cluster ที่ทำงานบน Windows Server 2019 นั้น เป็นระบบ HA (High-availability) cluster แบบหนึ่ง หลักการทำงานของระบบ คือ vm ที่ทำงานอยู่บนเครื่อง server สามารถที่จะเคลื่นย้ายไปทำงานบนเครื่อง server เครื่องอื่นที่เป็น member ของ cluster ได้โดยที่ระบบไม่ต้อง down ในระบบ cluster นั้น จะต้องมีเครื่อง server อย่างน้อย 2 เครื่องขึ้นไป
การเปิดใช้งานระบบ Failover Cluster
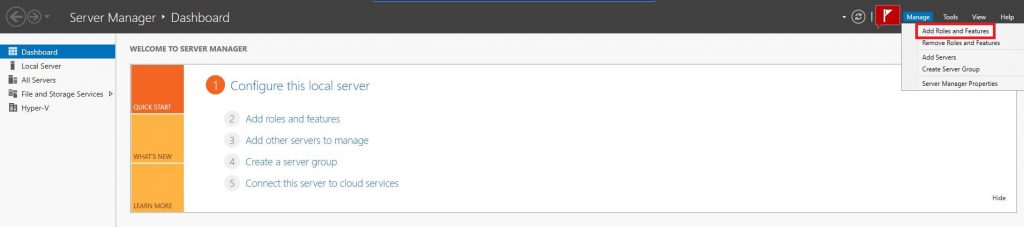
- เข้าสู่เครื่อง Server แล้วเปิดหน้า Dashboard >Add roles and Feature
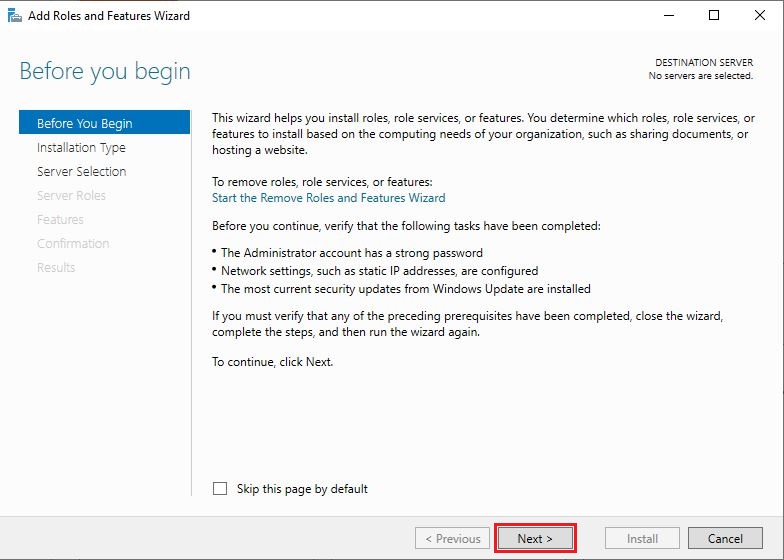
2. จะมีหน้าต่าง Add roles and Features Wizard > Before you begin
- ให้กด Next
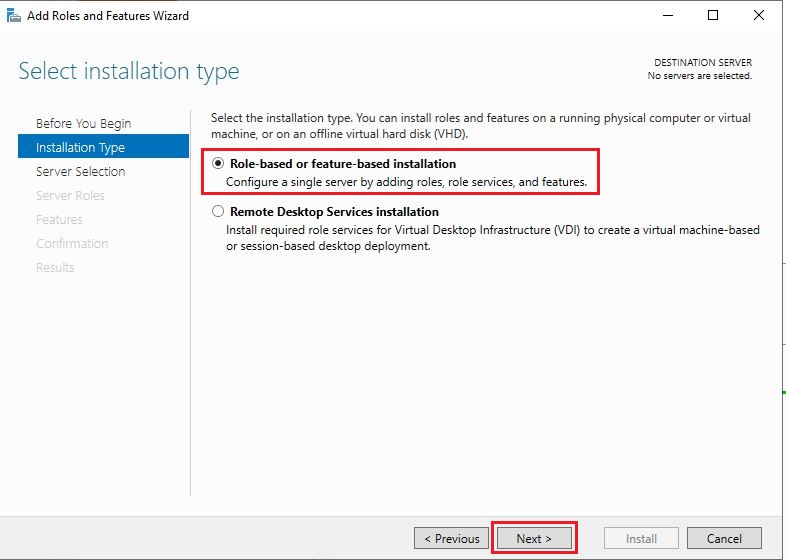
3. หน้าต่าง Add roles and Features Wizard > Installation Type
- ให้เลือก Role-based or feature-base installation
- ให้กด Next
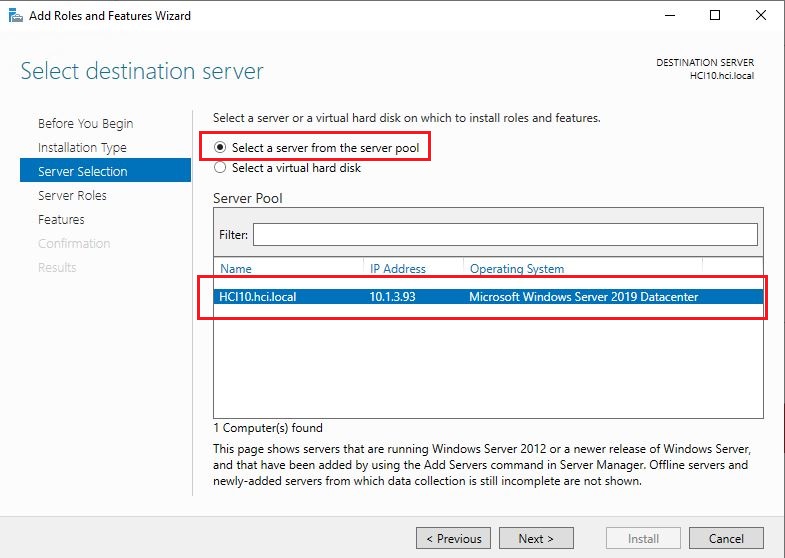
4.หน้าต่าง Add roles and Features Wizard > Server Selection
- ให้เลือก Select a server from the server pool
- ตรวจเช็คว่าถูกต้องหรือไม่ หากถูกต้องให้กด Next
5. หน้าต่าง Add roles and Features Wizard > Roles
- ให้กด Next ผ่านไปได้เลย
6.หน้าต่าง Add roles and Features Wizard > Features
- ให้ checkbox ที่ Failover Clustering
- ให้กด Next

8. ตรวจเช็ค Infomation 9่างๆว่าครบถ้วน ถูกต้องหรือไม่ จากนั้นกด Install
9. เมื่อทำการ Install เสร็จมีข้อความ Require restart ให้ทำการ restart เครื่อง server
10. หลังจาก Restart เสร็จ Service Failove Cluster ก็พร้อมให้ใช้งานได้
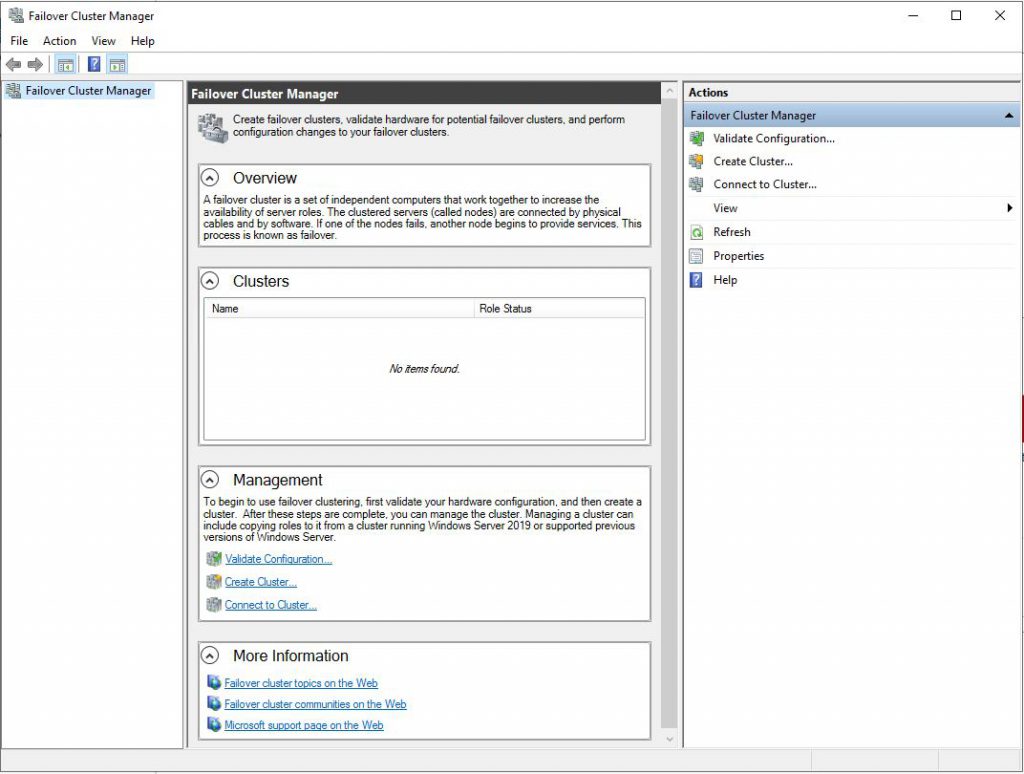
รูปแสดงหน้าจอระบบ Failove Cluster หลังจากติดตั้งระบบเสร็จ
