
จากบทความก่อนหน้า สร้างเว็บค้นหาข้อมูลจาก Google Sheet ด้วย Apps Script และ Sheetrock.js เว็บแอปของเราสามารถใส่สีและปรับแต่งฟ้อนท์ข้อความได้หรือไม่ หลายท่านคงมีคำถาม บทความนี้จะแสดงถึงการจัดระเบียบสคริปต์ที่เราเขียน เพิ่มการตกแต่งข้อความและการแสดงผลข้อมูลภายในตารางให้อ่านง่าย
เริ่มที่การเปิดไฟล์ Apps Script เดิมที่เคยสร้างไว้ ชื่อ SheetRock
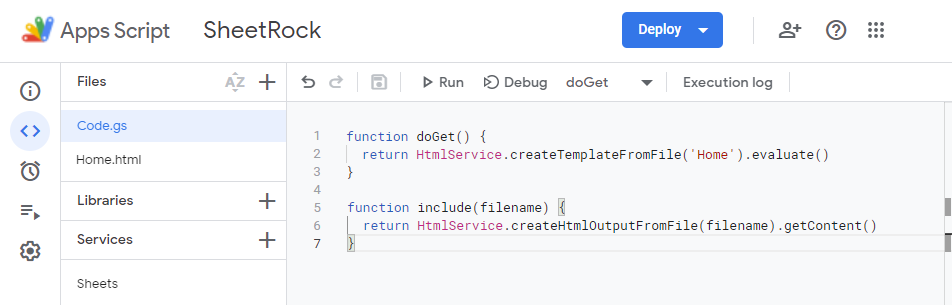
เข้าไปที่ไฟล์ Code.gs หรือ รหัส.gs เพิ่มฟังก์ชัน
function include(filename) {
  return HtmlService.createHtmlOutputFromFile(filename).getContent()
}
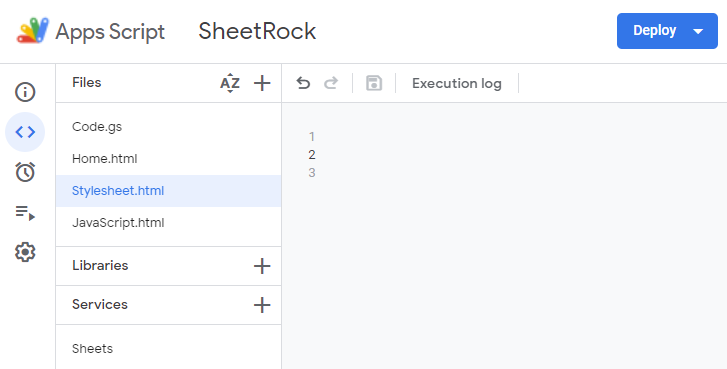
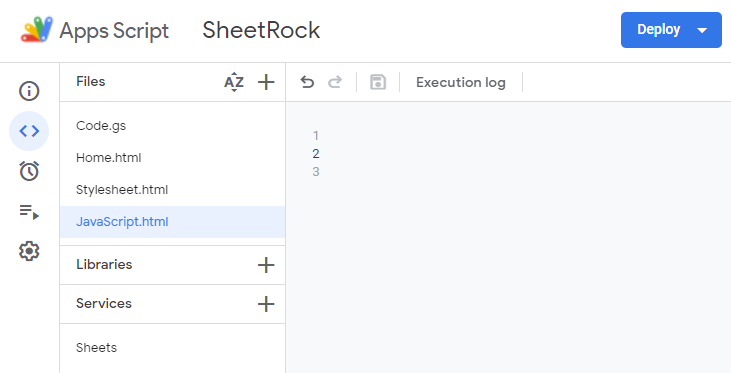
จากนั้นที่ไฟล์ Home.html เราจะแยกส่วนของสคริปต์ CSS และ JavaScript อย่างละ 1 ไฟล์ โดยการสร้างไฟล์ html เพิ่ม 2 ไฟล์ ชื่อ Stylesheet และ JavaScript
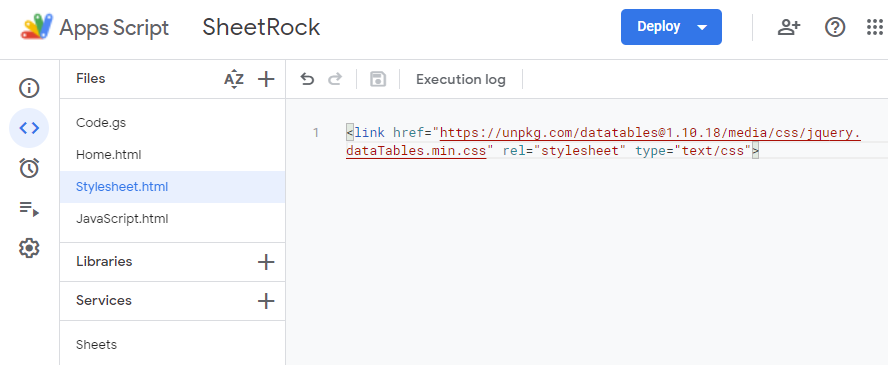
ไฟล์ Stylesheet.html
ไฟล์ JavaScript.html
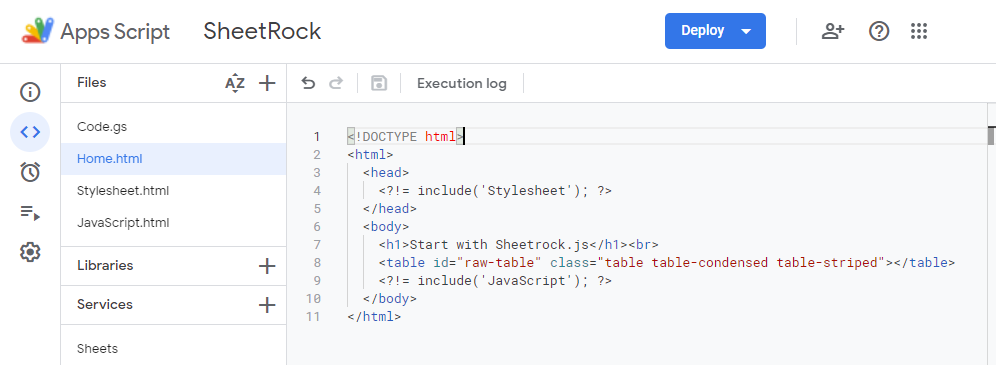
ไปที่ไฟล์ Home.html
1.ในแท็ก head ตัดบรรทัดที่ขึ้นต้นด้วยแท็ก script ไปวางภายในไฟล์ JavaScript.html
2.ในแท็ก body ตัดบรรทัดที่ขึ้นต้นด้วยแท็ก script ไปวางภายในไฟล์ JavaScript.html ต่อจากสคริปต์ที่มาจากแท็ก head
จุดสังเกต ในการวางสคริปต์ JavaScript จะมีการทำงานแบบเรียงลำดับ ต้องเรียงไฟล์ตามต้นฉบับ
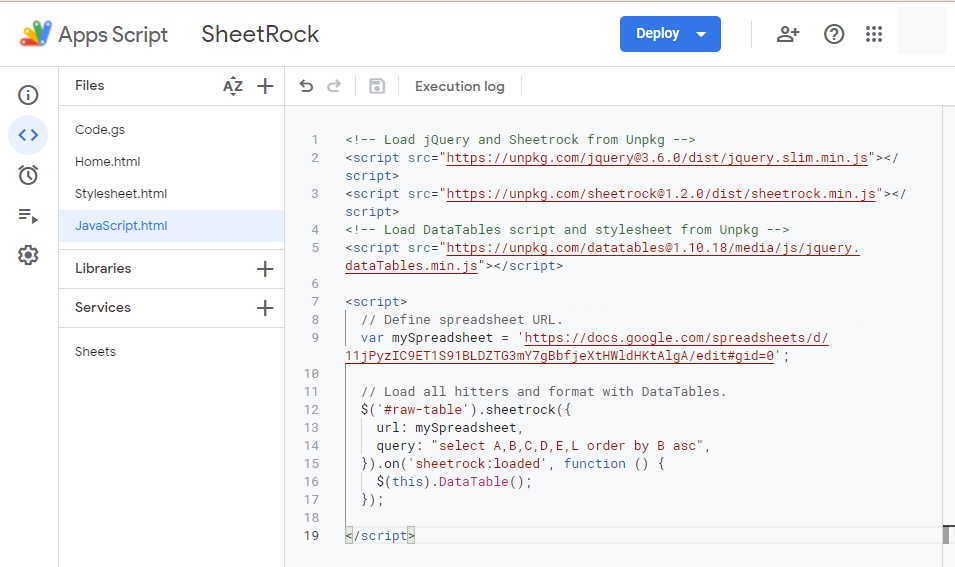
3.แทนที่การตัดสคริปต์ JavaScript ในไฟล์ Home.html ด้วย การเขียนอ้างอิงไฟล์
<?!= include('JavaScript'); ?>- ในแท็ก head ตัดบรรทัดที่ขึ้นต้นด้วยแท็ก link rel=”stylesheet” type=”text/css” ไปวางภายในไฟล์ Stylesheet.html
5. แทนที่การตัดสไตล์ชีต CSS ในไฟล์ Home.html ด้วย การเขียนอ้างอิงไฟล์
<?!= include('Stylesheet'); ?>จุดสังเกต สไตล์ชีต CSS จะอยู่ในแท็ก head เสมอ
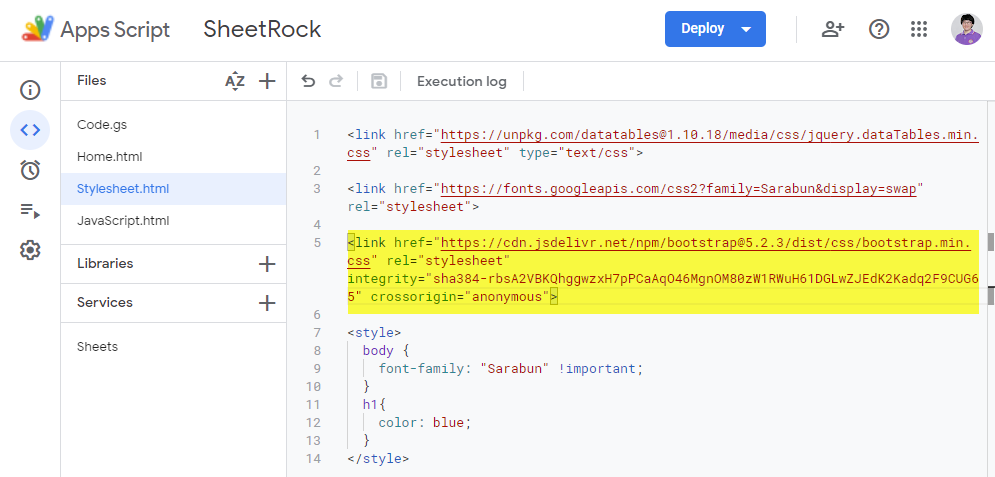
ในไฟล์ Stylesheet.html สามารถเพิ่มแท็ก style เพื่อตกแต่งการแสดงผลข้อความ เช่น ใส่สีข้อความ แท็ก h1 แสดงข้อความสีน้ำเงิน
<style>
  h1{
    color: blue;
  }
</style>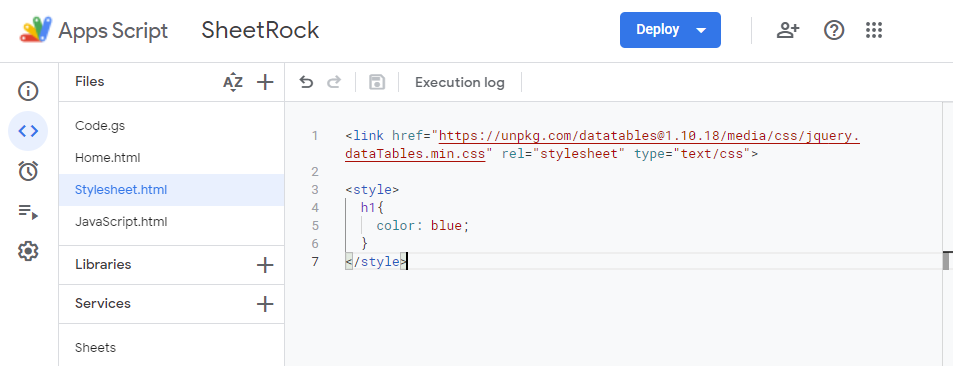
จะเห็นได้ว่าสคริปต์ไฟล์ Home.html มีความเป็นระเบียบ การแยกส่วนของสคริปต์ไฟล์ ทำให้การอ่านและแก้ไขสคริปต์ง่ายขึ้น
ทดสอบ Apps Script ด้วยการ Deploy แบบ Test deployments คัดลอกลิงก์เพื่อทดสอบผ่านเว็บเบราว์เซอร์ ผลลัพธ์ที่ได้ตามภาพ เว็บแอปแสดงข้อมูลยังคงต้องทำงานได้เหมือนเดิม

อ้างอิง: Apps Script – HTML Service: Best Practices
การเพิ่ม Font ให้กับเว็บแอป
ใช้รูปแบบการแสดงผล Font จาก Google Fonts ไปที่เว็บ ค้นหา Font ที่ต้องการ
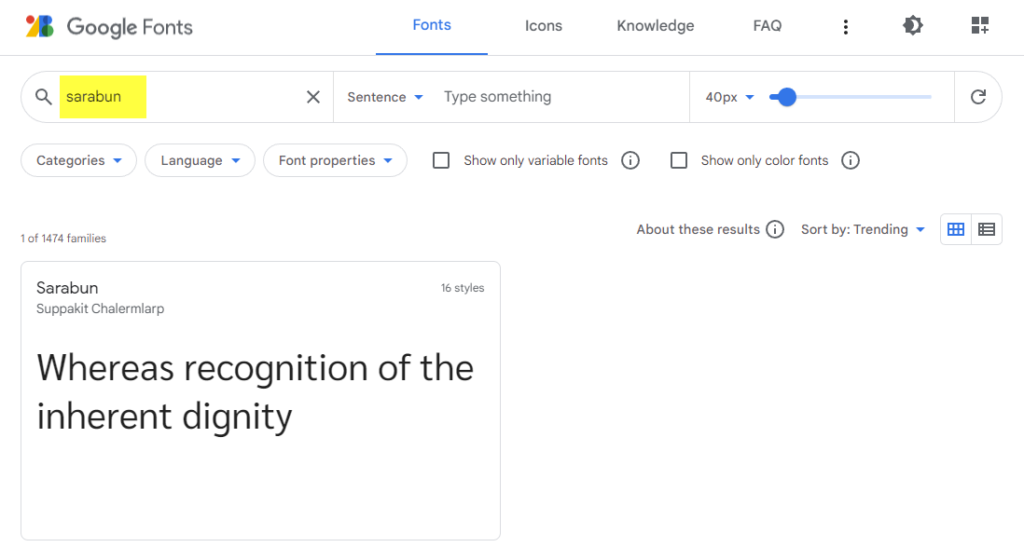
ใช้ Font – Sarabun เลือกแบบ Regular 400

คัดลอก link ตามไฮไลท์สีเหลือง
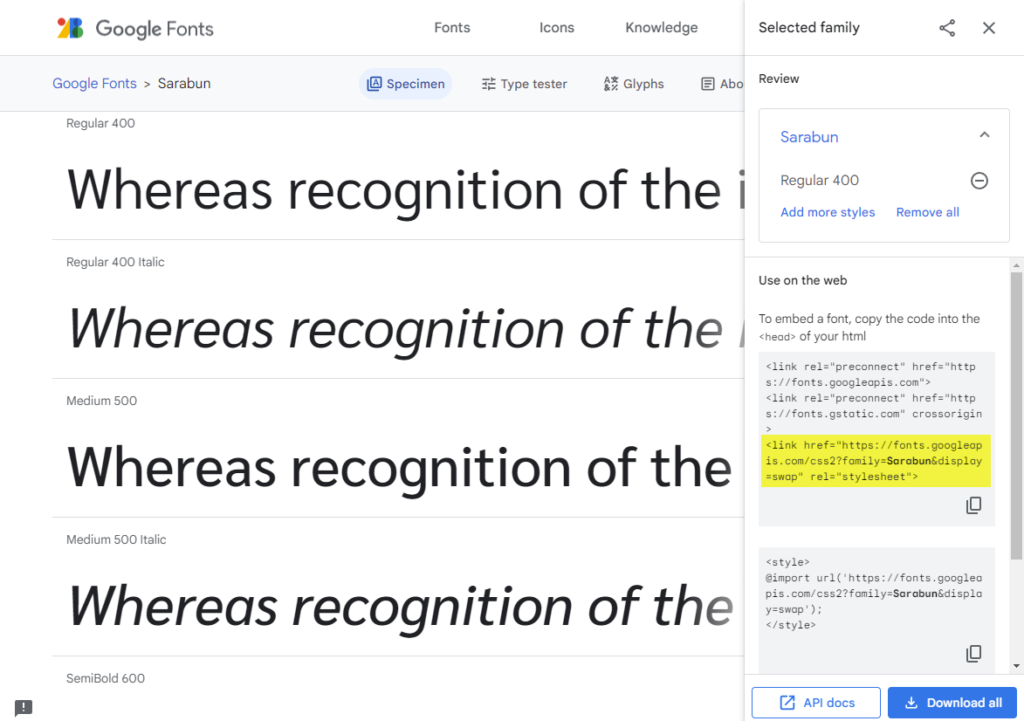
วางสคริปต์ที่ตัดลอก ในไฟล์ Stylesheet.html
<link href="https://fonts.googleapis.com/css2?family=Sarabun&display=swap" rel="stylesheet">และในแท็ก style เพิ่มการกำหนดให้ข้อความทั้งหมดที่แสดงในแท็ก body ใช้ Font “Sarabun”
body {
    font-family: "Sarabun" !important;
}
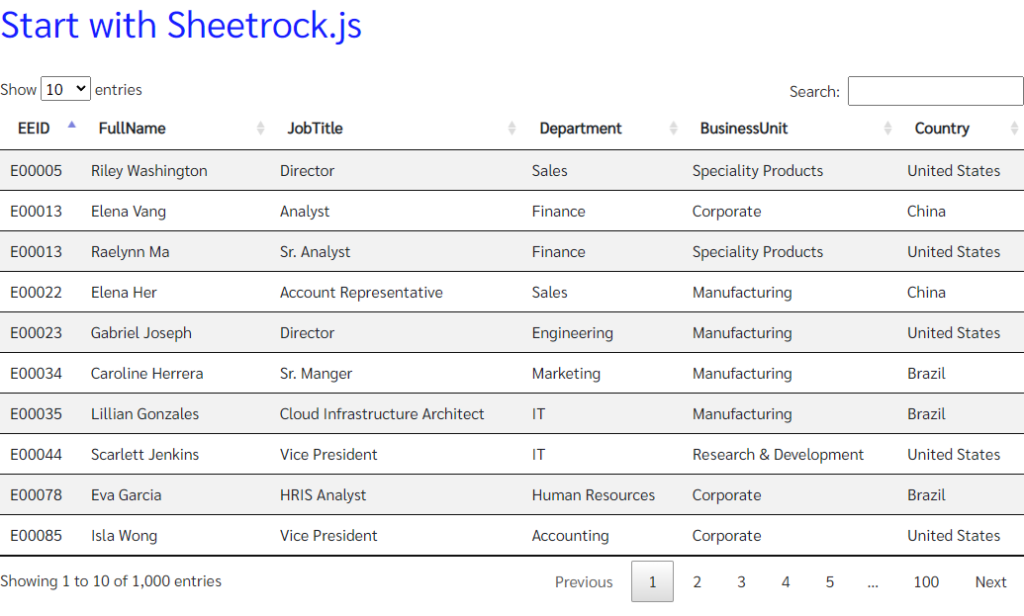
จากนั้นทดสอบ Apps Script ด้วยการ Deploy แบบ Test deployments คัดลอกลิงก์เพื่อทดสอบผ่านเว็บเบราว์เซอร์ หรือ หากเปิดหน้าต่างเบราว์เซอร์สำหรับทดสอบอยู่แล้วให้กดปุ่ม Ctrl+F5 เพื่อ Refresh การแสดงผลเว็บแอป ผลลัพธ์ที่ได้ตามภาพ Font ข้อความแสดงรูปแบบ Sarabun แล้ว 🙂
การเพิ่ม Bootstrap CSS ให้กับเว็บแอป
สามารถติดตั้ง Bootstrap ให้กับเว็บแอป โดยการอ้างอิง link โดยเข้าไปที่เว็บ getbootstrap.com เลือกการ Include via CDN
คัดลอกลิงก์อ้างอิง
<!-- CSS only -->
<link href="https://cdn.jsdelivr.net/npm/[email protected]/dist/css/bootstrap.min.css" rel="stylesheet" integrity="sha384-rbsA2VBKQhggwzxH7pPCaAqO46MgnOM80zW1RWuH61DGLwZJEdK2Kadq2F9CUG65" crossorigin="anonymous">
วางลิงก์ในไฟล์ Stylesheet.html
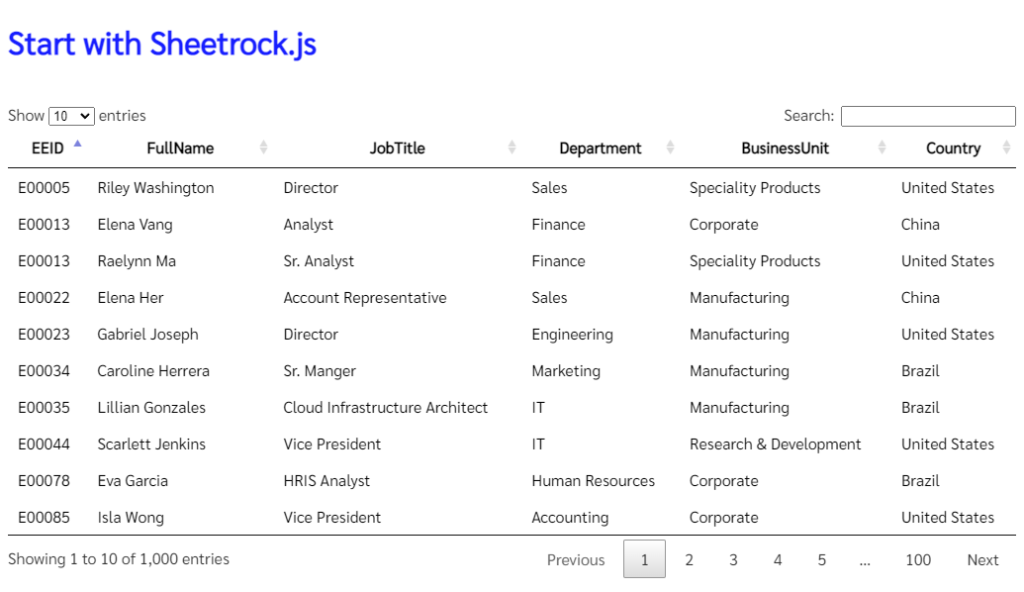
จากนั้นทดสอบ Apps Script ด้วยการ Deploy แบบ Test deployments คัดลอกลิงก์เพื่อทดสอบผ่านเว็บเบราว์เซอร์ หรือ หากเปิดหน้าต่างเบราว์เซอร์สำหรับทดสอบอยู่แล้วให้กดปุ่ม Ctrl+F5 เพื่อ Refresh การแสดงผลเว็บแอป ผลลัพธ์ที่ได้ตามภาพ ตาราง DataTables แสดงรูปแบบ table-striped (รายการข้อมูลแสดงสีพื้นสลับกัน) 🙂
หวังว่าบทความนี้จะช่วยให้ผู้เริ่มต้นการเขียน Apps Script สนุกกับการเขียนและสามารถตกแต่งเว็บแอปให้น่าใช้งานมากยิ่งขึ้น 🥰
