
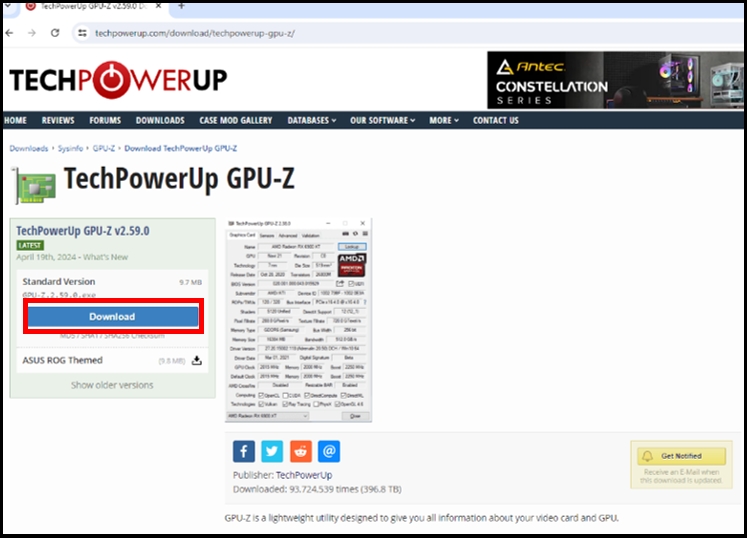
- เปิดเว็บ “https://www.techpowerup.com/gpuz/” คลิกปุ่ม Download GPU-Z

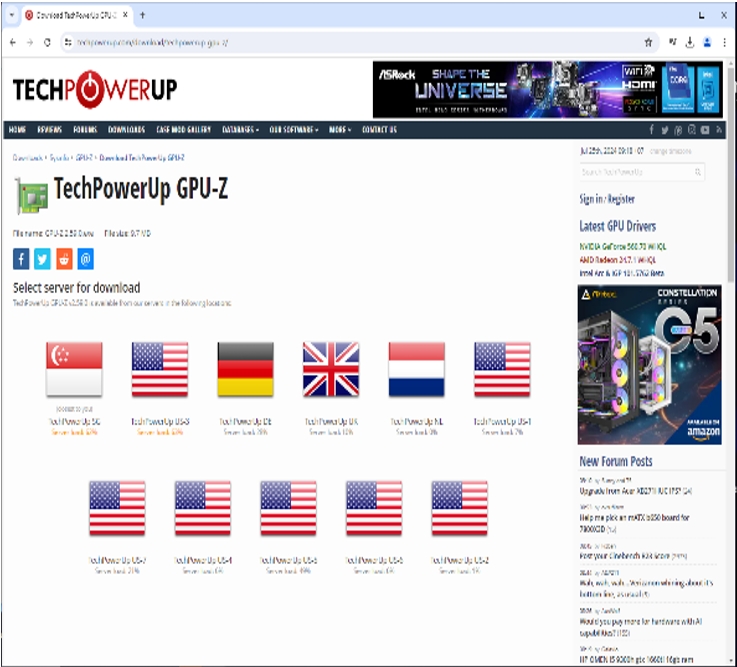
2. คลิกปุ่ม Download และเลือก Server ที่จะดาวน์โหลด
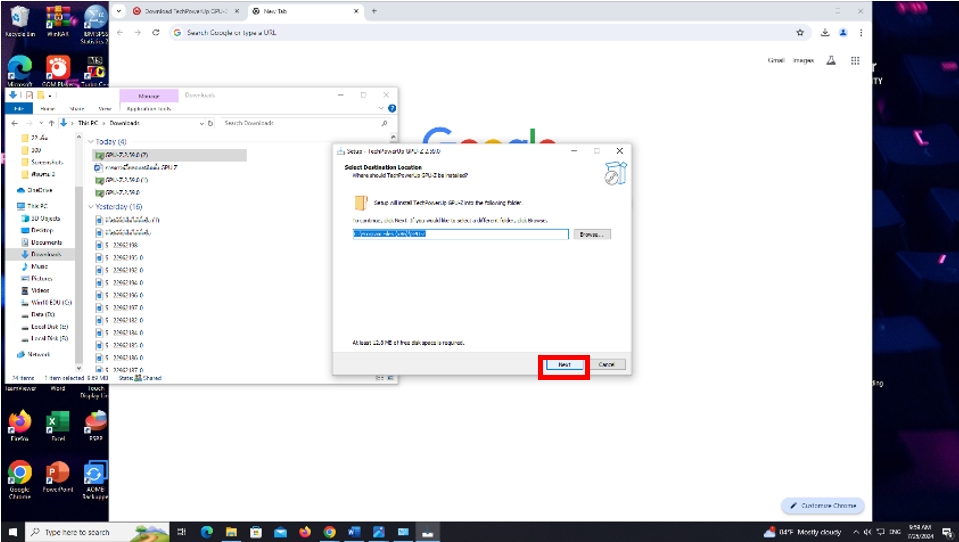
3. เมื่อดาวน์โหลดเสร็จ แล้วจะได้ไฟล์ GPU-Z.2.59.0 เปิดไฟล์เพื่อทำการติดตั้ง คลิกปุ่ม Next จนเสร็จสิ้นการติดตั้ง
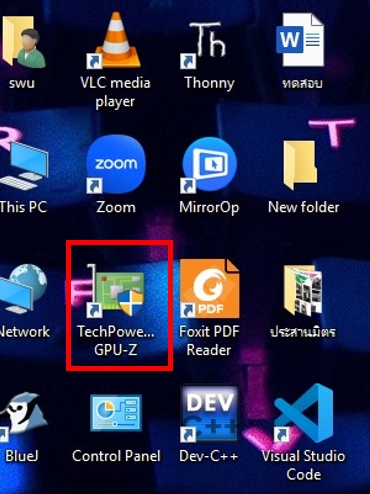
5. เปิดโปรแกรม GPU-Z
6. หน้าโปรแกรมจะแสดงรายละเอียด Graphic Card Computer ดังนี้
- ยี่ห้อและรุ่น Graphic Card (Name)
- เวอร์ชั่นไบออส Graphic Card (BIOS Version)
- ประเภทหน่วยความจำ Graphic Card (Memory Type)
- ขนาดหน่วยความจำ Graphic Card (Memory Size)

